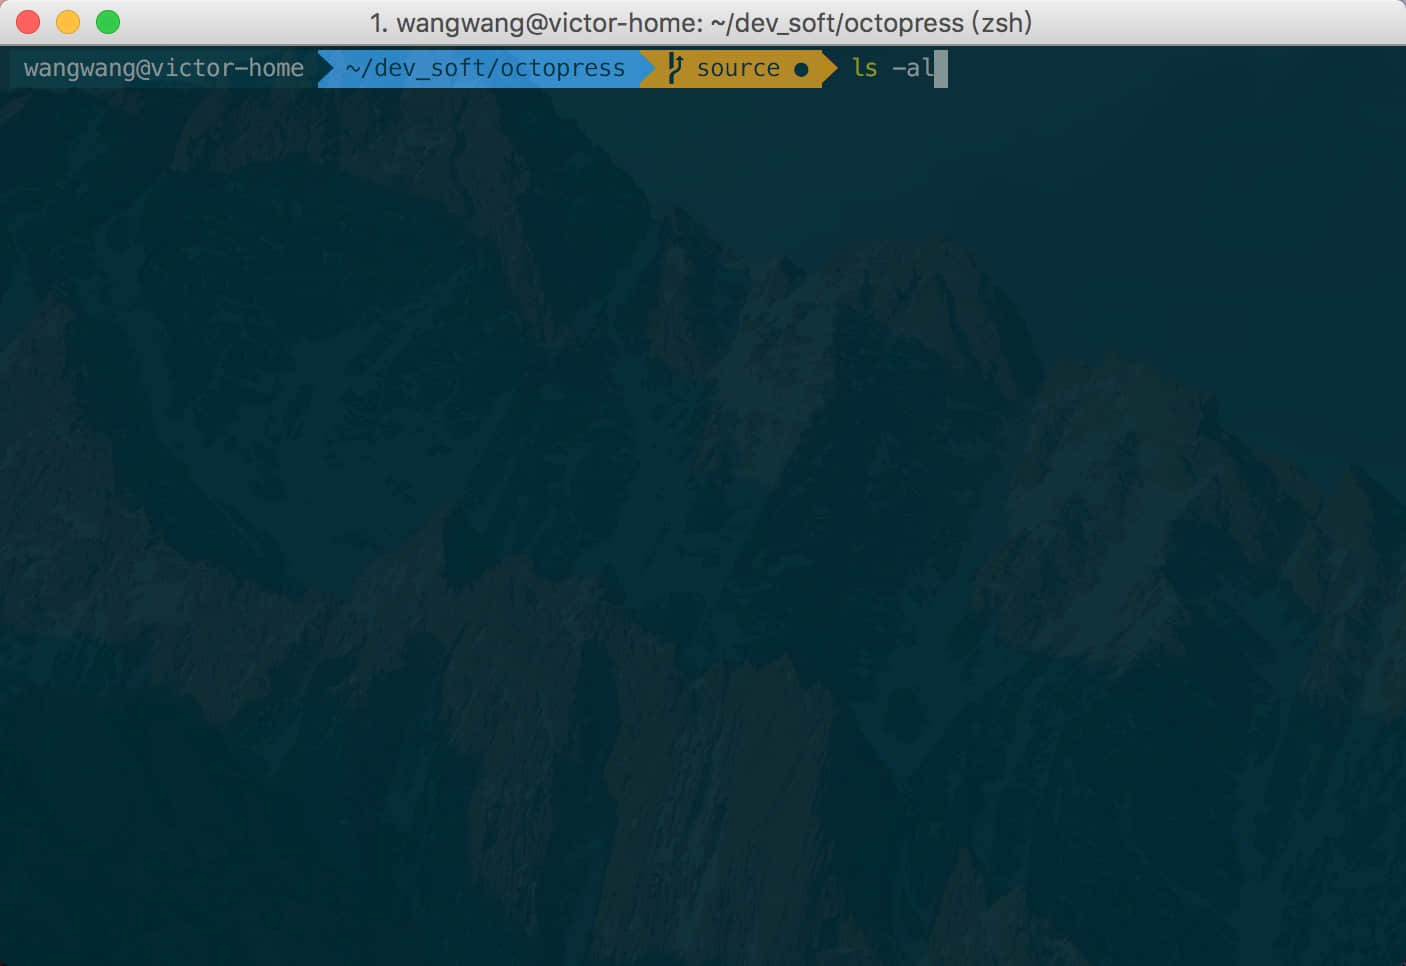
先上一张效果图

配置过程如下
1. 下载iTerm2
2. 下载oh-my-zsh
链接:https://github.com/robbyrussell/oh-my-zsh
查看当前终端是否已经启动zsh,命令echo $0,如果不是zsh使用命令chsh -s /bin/zsh修改
查看系统支持的sh环境,命令cat /etc/shell
3. 安装Powerline对应的字体库
Powerline链接:http://powerline.readthedocs.io/en/master/
为了展示agnoster主题提示符里的三角形,需要Powerline字体库的支持
使用pip安装,安装命令pip install powerline-status;如果没有pip,请先安装pip,安装pip命令sudo easy_install pip
字体库链接:https://github.com/powerline/fonts
使用git clone下来字体库仓库,进入仓库根目录,执行install.sh安装
4. 设置iTerm2字体
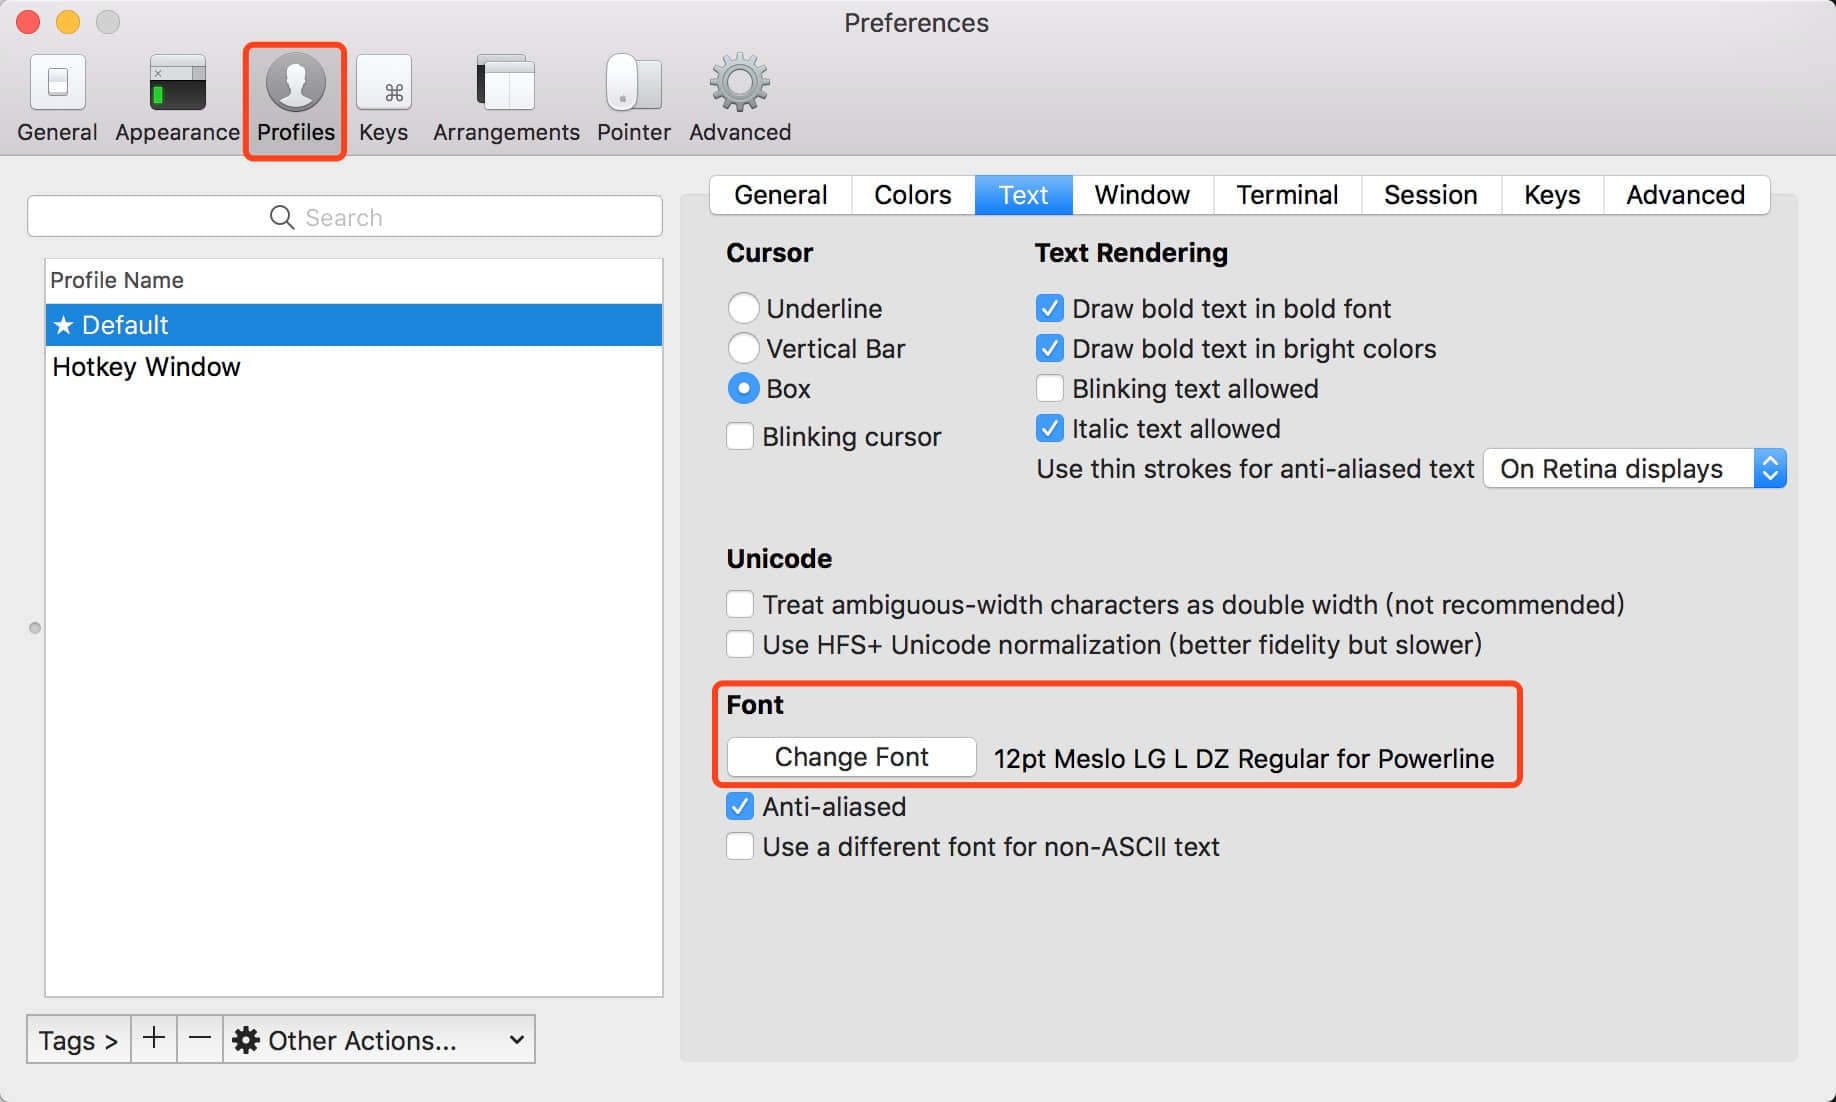
进入iTerm2设置-Profiles-Text-Font,选择Powerline字体
12pt Meslo LG S DZ Regular for Powerline

5. 安装Solarized配色方案
6. 使用agnoster主题
链接:https://github.com/fcamblor/oh-my-zsh-agnoster-fcamblor
git clone,进入仓库根目录,执行install文件
配置iTerm2主题,打开~/.zshrc,设置ZSH_THEME=“angoster”
附加项
7. 增加指令高亮效果/zsh-syntax-highlighting
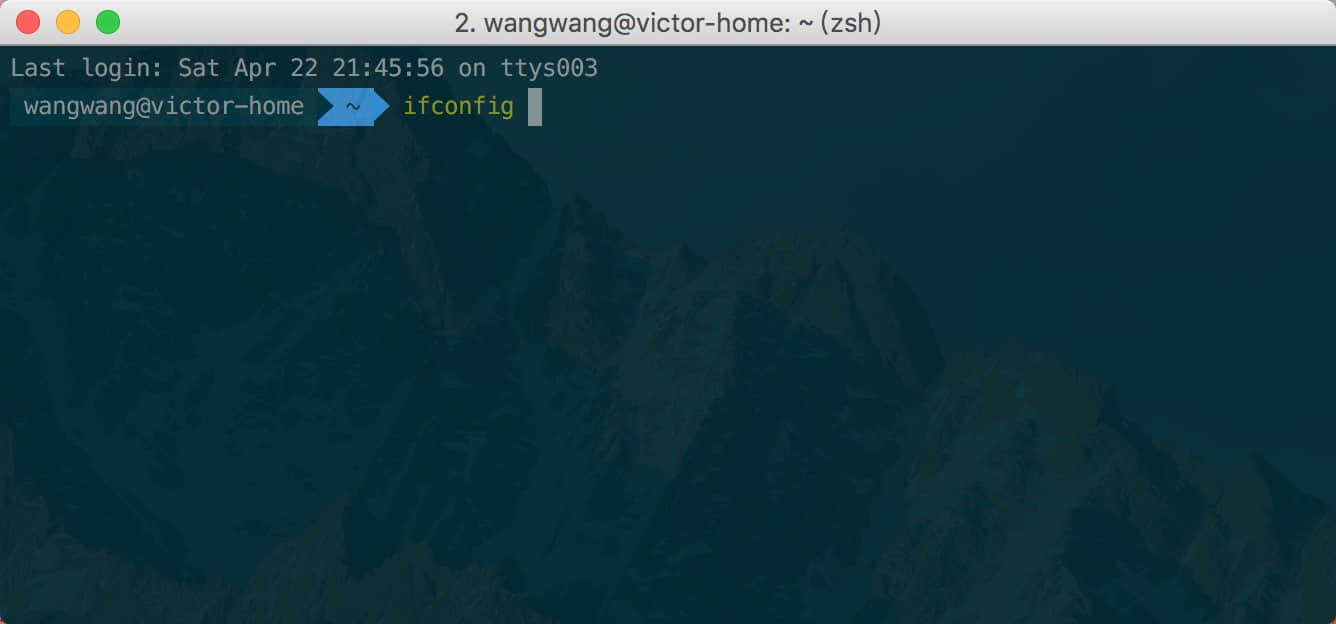
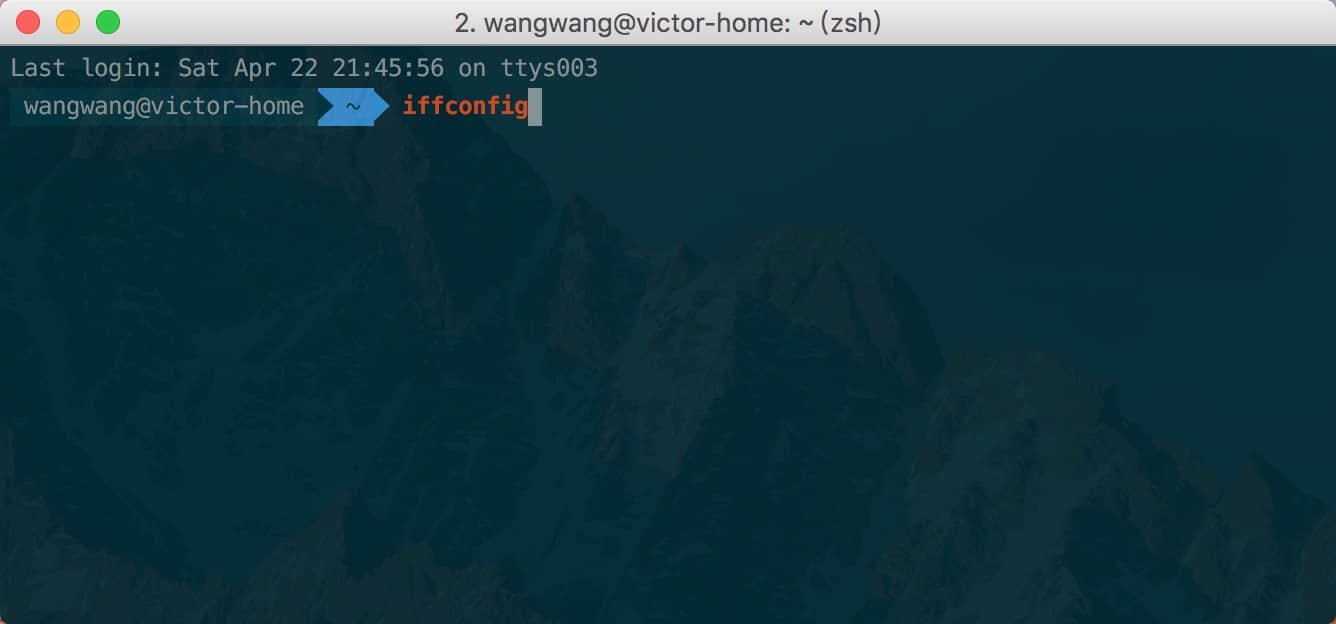
用户输入错误指令为红色,输入正确指令为绿色
zsh-syntax-highlighting链接:https://github.com/zsh-users/zsh-syntax-highlighting
git clone到XX目录,打开.zshrc文件添加
1 2 | |
指令高亮效果图如下:

